世界上最伟大的投资就是投资自己的教育
【图文并茂】ant design pro 如何优雅地实现查询列表功能
随风发布于634 次阅读
前端
首先,在 index.tsx 中,只要不禁用查询,一般都会有
 const columns: ProColumns<API.ItemData>[] = [
    {
      title: intl.formatMessage({ id: 'email' }),
      dataIndex: 'email',
      copyable: true,
      renderFormItem: (item, { ...rest }) => {
        return <ProFormText {...rest} placeholder={intl.formatMessage({ id: 'enter_email' })} />;
      },
      render: (dom, entity) => {
        return (
          <a
            onClick={() => {
              setCurrentRow(entity);
              setShowDetail(true);
            }}
          >
            {dom}
          </a>
        );
      },
    },
    {
      title: intl.formatMessage({ id: 'name' }),
      dataIndex: 'name',
      renderFormItem: (item, { ...rest }) => {
        return <ProFormText {...rest} placeholder={intl.formatMessage({ id: 'enter_name' })} />;
      },
    },
    {
      title: intl.formatMessage({ id: 'isAdmin' }),
      dataIndex: 'isAdmin',
      hideInSearch: true,
      render: (text) => (
        <span>{text ? intl.formatMessage({ id: 'yes' }) : intl.formatMessage({ id: 'no' })}</span>
      ),
    },
    {
      title: intl.formatMessage({ id: 'role' }),
      dataIndex: 'roles',
      hideInSearch: true,
      renderText: (_, record: any) => {
        return record.roles?.map((role: Role) => role.name)?.join(', ');
      },
    },
    {
      title: <FormattedMessage id="pages.searchTable.titleOption" defaultMessage="Operating" />,
      dataIndex: 'option',
      valueType: 'option',
      render: (_, record) => [
        access.canSuperAdmin && (
          <a
            key="edit"
            onClick={() => {
              // Replace `handleUpdateModalOpen` and `setCurrentRow` with your actual functions
              handleUpdateModalOpen(true);
              setCurrentRow(record);
            }}
          >
            {intl.formatMessage({ id: 'edit' })}
          </a>
        ),
        access.canSuperAdmin && (
          <DeleteLink
            onOk={async () => {
              await handleRemove([record._id!]);
              setSelectedRows([]);
              actionRef.current?.reloadAndRest?.();
            }}
          />
        ),
      ],
    },
  ];
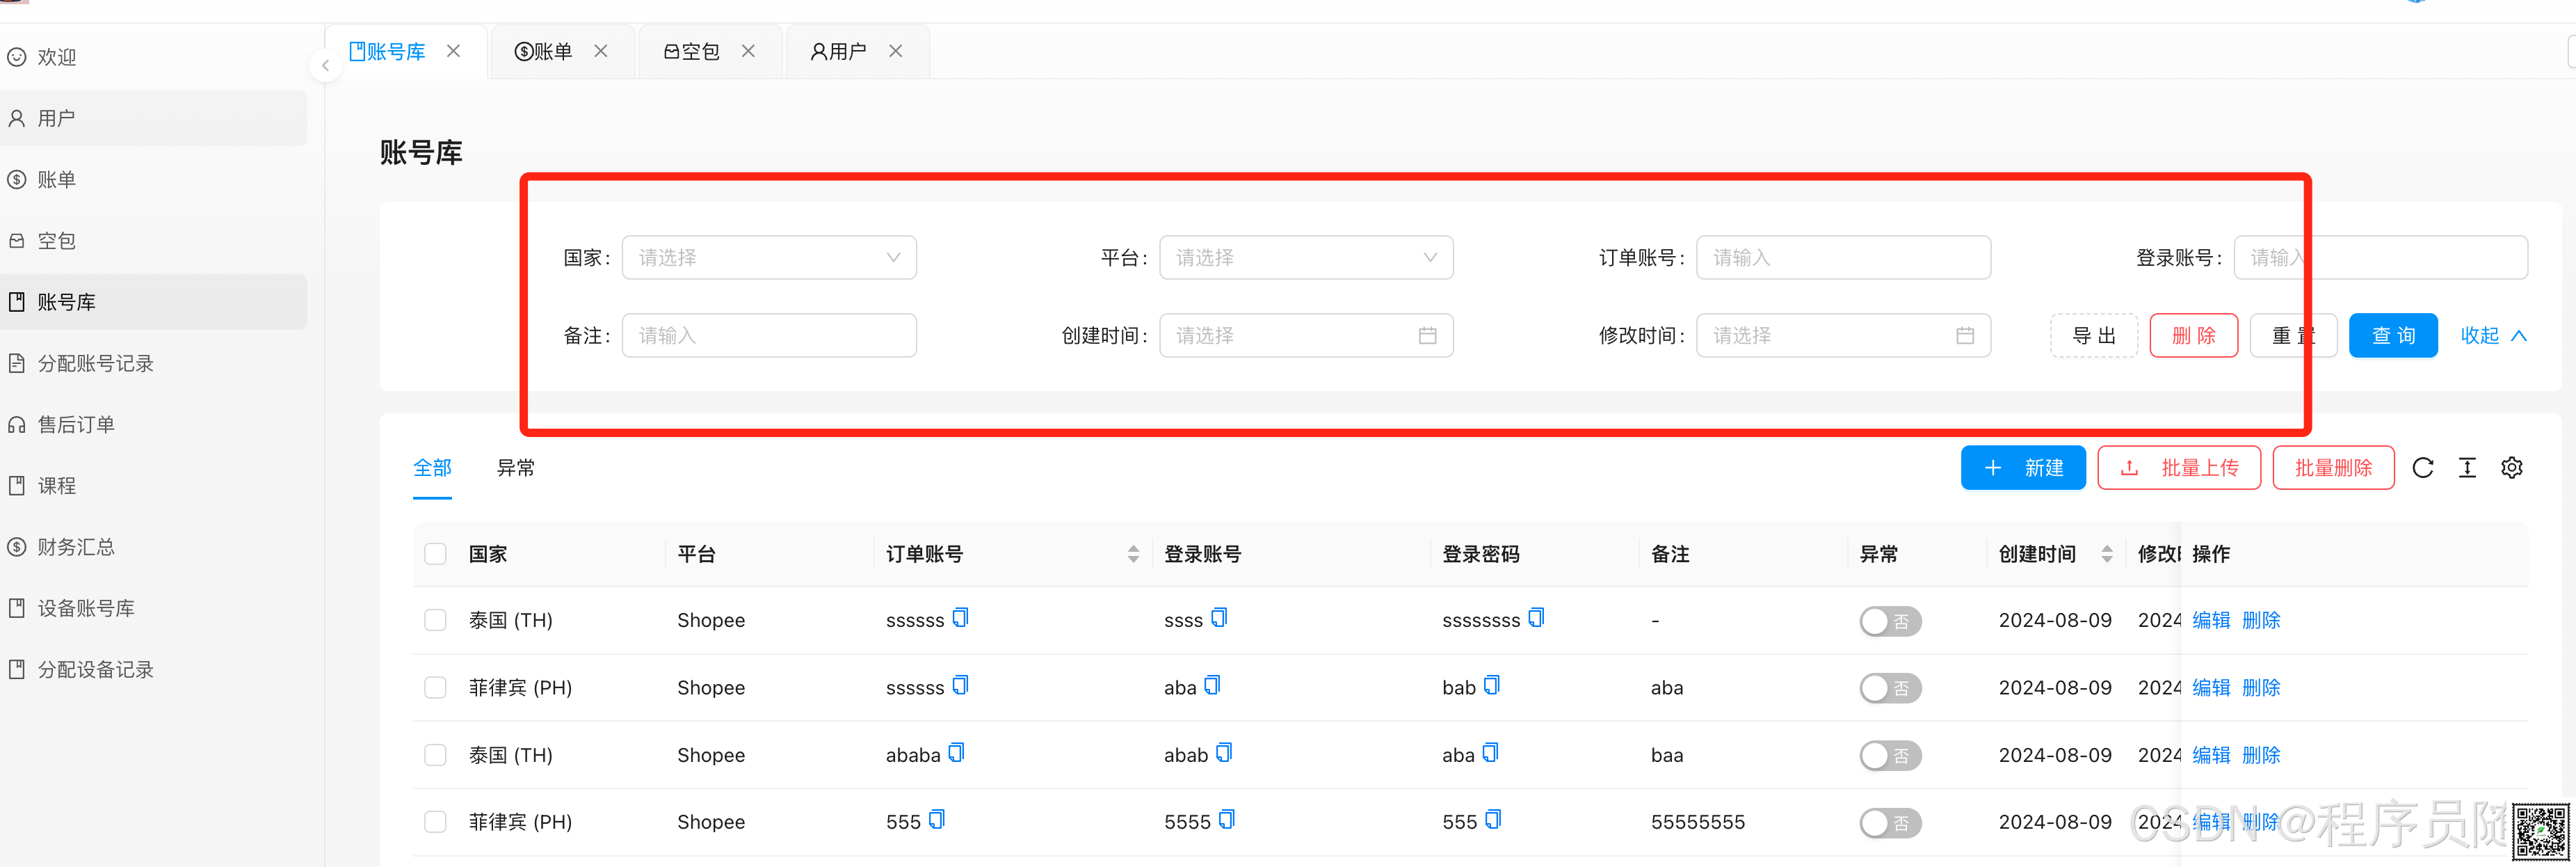
只要不使用 hideInSearch: true, 一般都会出现搜索框
这是其一
第二,是以 dataIndex: 'email', 这个作为搜索的 key

其三,是跟默认进来的列表页用的是同一个接口,无外乎多加了一点查询参数
request={async (params, sort, filter) => queryList('/users', params, sort, filter)}
请求地址对了,参数对了,请求方法对了。
就来关注下后端
后端
const getUsers = handleAsync(async (req: Request, res: Response) => {
  const { email, name, live, current = '1', pageSize = '10' } = req.query;

  const query: any = {};

  if (email) {
    query.email = email;
  }

  if (name) {
    query.name = { $regex: name, $options: 'i' };
  }

  if (live) {
    query.live = live === 'true';
  }

  // 执行查询
  const users = await User.find({
    ...query,
  })
    .populate('roles')
    .sort('-createdAt') // Sort by creation time in descending order
    .skip((+current - 1) * +pageSize)
    .limit(+pageSize)
    .exec();

  const total = await User.countDocuments({
    ...query,
  }).exec();

  res.json({
    success: true,
    data: users.map((user) => exclude(user.toObject(), 'password')),
    total,
    current: +current,
    pageSize: +pageSize,
  });
});
后端主要从 req.query 拿到请求参数即可
去数据库查一下就好。
优雅实现
但是一般这个地方,查询这里,以我的经验,有时候会多次利用
比如做导出功能,做删除功能时
所以要重构一下
类似这个:
const getMenus = handleAsync(async (req: Request, res: Response) => {
  const { current = '1', pageSize = '10' } = req.query;

  const query = buildQuery(req.query);

  // 执行查询
  const menus = await Menu.find(query)
    .populate('permission')
    .populate('parent') // 填充 parent 字段
    .sort('-createdAt') // Sort by creation time in descending order
    .skip((+current - 1) * +pageSize)
    .limit(+pageSize)
    .exec();

  const total = await Menu.countDocuments(query).exec();

  // 获取所有菜单及其子菜单
  const menusWithChildren = await Promise.all(
    menus.map(async (menu) => {
      const menuWithChildren = menu.toObject();
      menuWithChildren.children = await getChildren(menu._id);
      return menuWithChildren;
    }),
  );

  res.json({
    success: true,
    data: menusWithChildren,
    total,
    current: +current,
    pageSize: +pageSize,
  });
});
我用 buildQuery 抽出来所有的查询逻辑
const buildQuery = (queryParams: any): any => {
  const query: any = {};

  if (queryParams.name) {
    query.name = { $regex: queryParams.name, $options: 'i' };
  }

  if (queryParams.path) {
    query.path = { $regex: queryParams.path, $options: 'i' };
  }

  if (queryParams.parent) {
    query.parent = queryParams.parent;
  } else {
    query.parent = null;
  }

  return query;
};
其它地方我就可以调用:
// @desc Get permission menus
// @route GET /api/menus/fetch
// @access Private
const fetchMenus = handleAsync(async (req: RequestCustom, res: Response) => {
  const query = buildQuery(req.query);

  const menus = await Menu.find(query)
    .populate('parent')
    .populate('permission');

  const menusWithChildren = await Promise.all(
    menus.map(async (menu) => {
      const menuWithChildren = menu.toObject();
      menuWithChildren.children = await getChildren(menu._id);
      return menuWithChildren;
    }),
  );

  res.json({
    success: true,
    data: checkMenu(menusWithChildren, req.user),
  });
});
这样是比较好的
- ant design pro 如何去保存颜色
- ant design pro v6 如何做好角色管理
- ant design 的 tree 如何作为角色中的权限选择之一
- ant design 的 tree 如何作为角色中的权限选择之二
- ant design pro access.ts 是如何控制多角色的权限的
- ant design pro 中用户的表单如何控制多个角色
- ant design pro 如何实现动态菜单带上 icon 的
- ant design pro 的表分层级如何处理
- ant design pro 如何处理权限管理
- ant design pro 技巧之自制复制到剪贴板组件
- ant design pro 技巧之实现列表页多标签
- 【图文并茂】ant design pro 如何对接登录接口
- 【图文并茂】ant design pro 如何对接后端个人信息接口
- 【图文并茂】ant design pro 如何给后端发送 json web token - 请求拦截器的使用
- 【图文并茂】ant design pro 如何使用 refresh token 可续期 token 来提高用户体验
- 【图文并茂】ant design pro 如何统一封装好 ProFormSelect 的查询请求
获取 ant design pro & nodejs & typescript 多角色权限动态菜单管理系统源码
我正在做的程序员赚钱副业 - Shopify 真实案例技术赚钱营销课视频教程
本站文章均为原创内容,如需转载请注明出处,谢谢。
0 条回复
暂无回复~~
© 汕尾市求知科技有限公司 | Rails365 Gitlab | 知乎 | b 站 | csdn
 粤公网安备 44152102000088号
| 粤ICP备19038915号


